
Table of Contents
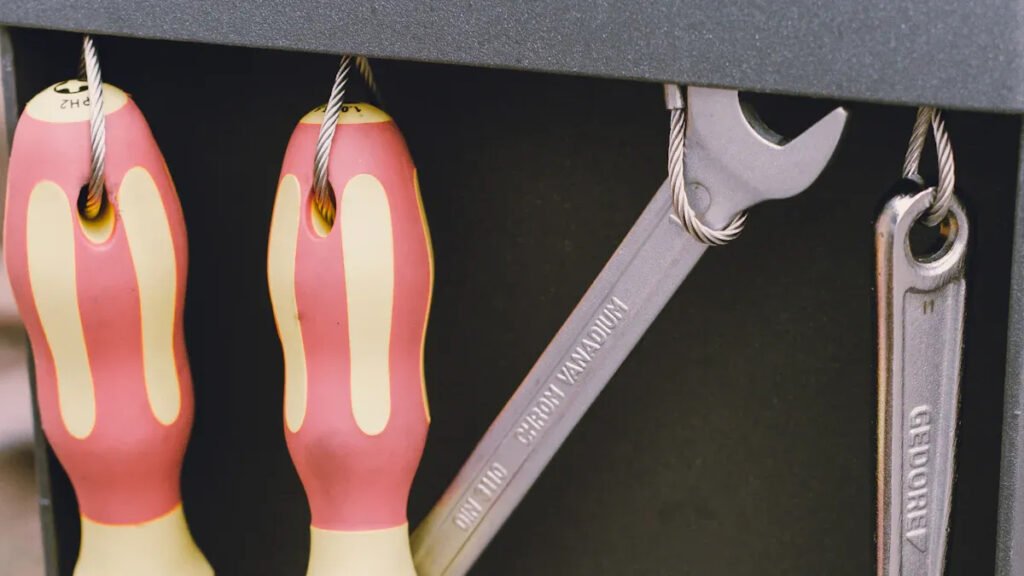
When I install magnetic hooks, I always ensure that I choose a strong, metal surface and use high-quality materials. Using the right methods helps me avoid damage and keeps everything secure. I find that most magnetic hooks can hold between 10 and 200 pounds, so I trust them for heavy items. The table below shows why I rely on these hooks for safe and efficient setups.
Anyone can install these hooks safely with a little care and the right guidance.
Statistic Description | Value / Percentage | Why It Matters |
|---|---|---|
Weight carrying capacity | 10 to 200 pounds | Handles heavy loads safely |
Efficiency gains in companies | 20% | Faster, safer installations |
Manufacturers require durable materials | Over 65% | Ensures long-lasting performance |
magnetic hooks Key Takeaways
Always clean the surface and the hook before installation to ensure a strong magnetic grip and prevent the hook from slipping.
Use protective pads or discs on painted, glass, or delicate surfaces to avoid scratches and improve hold.
Choose flat, ferrous metal surfaces for the best magnetic hold and avoid curved or damaged areas.
Check the weight limit on the hook packaging and never exceed it to keep your items and surfaces safe.
Test the hook’s strength with light items first and inspect hooks regularly to maintain safety and performance.
Magnetic Hooks: Materials
When I set out to install magnetic hooks, I always gather the right materials first. This step makes the process smoother and helps me avoid mistakes.
Hooks
I start by choosing the right hooks for my needs. Magnetic hooks come in different sizes and strengths. Some hold just a few pounds, while others can support much heavier items. I check the packaging for weight limits. I also look for hooks with a smooth base. A smooth base helps the magnet grip better and protects the surface.
Pads or Discs
Sometimes, I use pads or discs between the hook and the surface. These pads prevent scratches and help the magnet stick evenly. I prefer soft silicone or felt pads. They work well on painted or delicate surfaces. If I want extra protection, I use a thin plastic disc. This small step keeps my walls and appliances looking new.
Tip: I always test the pad or disc with the hook before hanging anything heavy.
Cleaning Supplies
Before I attach any hook, I clean both the hook and the surface. I use a soft cloth and a gentle cleaner. Dust or grease can weaken the magnet’s hold. I make sure everything is dry before I continue. Clean surfaces help magnetic hooks stay secure.
Measuring Tools
I use a measuring tape or ruler to place my hooks evenly. This tool helps me avoid crooked lines or crowded spaces. Sometimes, I mark the spot lightly with a pencil. Careful measuring makes my setup look neat and professional.
By preparing these materials, I set myself up for a safe and successful installation.
Surface Prep
Before I install any magnetic hooks, I always take time to prepare the surface. Careful preparation helps me avoid problems and ensures the hook holds strong.
Check for Metal
First, I check if the surface is metal and, more importantly, if it is ferrous. Only ferrous metals, like iron or steel, allow magnets to stick. I use a small magnet to test the area. If the magnet does not stick, I know the surface will not work for magnetic hooks. I have learned that even some metal surfaces, such as aluminum or certain stainless steels, do not attract magnets. This step saves me time and prevents frustration later.
Tip: I always test several spots on the surface, especially if I am not sure about the material.
Clean Area
Next, I clean both the surface and the base of the hook. I use a soft cloth and a gentle cleaner to remove dust, grease, or any residue. A clean surface makes a big difference. I have found that even a thin layer of dust can weaken the magnet’s grip. Cleanliness is not just about appearance. The science behind magnetic particle inspection shows that magnetic particles only stick to clean, ferrous surfaces. This means that a clean, metal area allows the magnetic field to work at its best, giving the hook maximum holding power.
I always let the area dry completely before moving on. Moisture can reduce the strength of the magnet and may even cause rust over time.
Inspect for Damage
Finally, I inspect the surface for any dents, scratches, or peeling paint. Damage can affect how well the magnet sticks. If I see chipped paint or rust, I avoid placing the hook there. Uneven or damaged spots can create gaps between the magnet and the surface, which lowers the holding strength. I look for smooth, flat areas to get the best results.
If I find minor damage, I sometimes use a protective pad or disc to help the magnet grip better and protect the surface. This extra step keeps my walls and appliances looking good and helps the hook stay secure.
By following these steps, I make sure my magnetic hooks have the best chance to hold safely and securely.
Metal Surfaces
Placement
When I install magnetic hooks on metal surfaces, I always look for a flat and clean spot. Flat areas give the magnet the best contact, which means a stronger hold. I avoid seams, curves, or textured spots because these can weaken the grip. I also check that the area is not near an edge. Edges can cause the hook to slip off if I hang something heavy. Sometimes, I use a ruler to make sure my hooks line up straight, especially if I plan to hang several items in a row.
Tip: I tap the surface lightly with my knuckle. If it sounds solid, I know the metal is thick enough for a strong hold.
Attach Hook
After I pick the right spot, I place the magnetic hook gently against the metal. I press down firmly so the magnet makes full contact. I avoid sliding the hook across the surface because this can scratch the metal or damage the magnet. If I use a protective pad, I make sure it sits flat between the hook and the surface. This step helps prevent marks and keeps the hook steady.
I double-check that the hook sits flush with the metal.
I make sure nothing is trapped under the magnet.
Test Hold
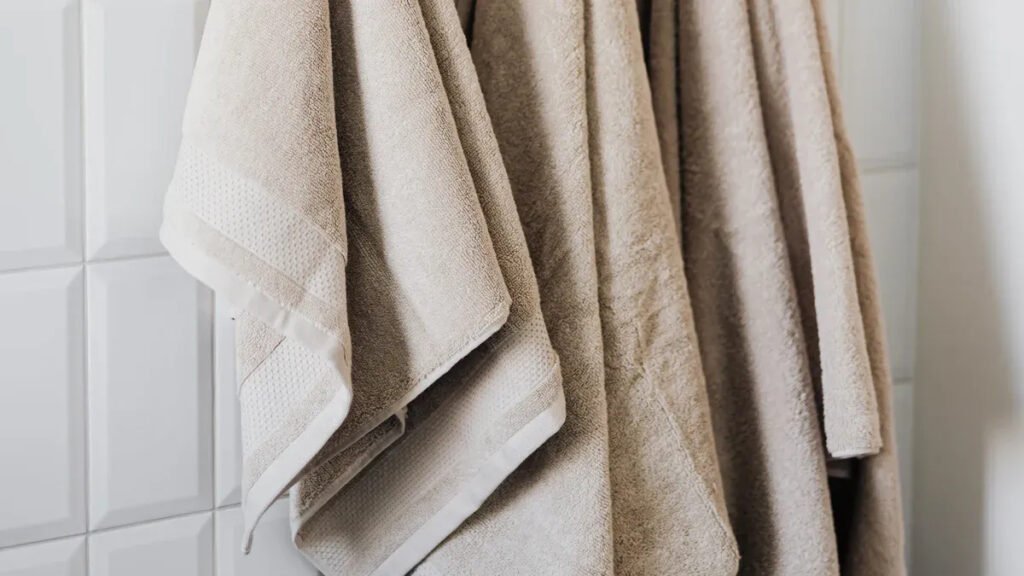
Before I hang anything valuable, I always test the hook’s strength. I tug on the hook gently to see if it moves. If it feels loose, I try a different spot or clean the area again. I start by hanging something light, like a kitchen towel or a small tool. If the hook holds, I slowly add more weight until I reach the limit listed by the manufacturer. This way, I know the hook can handle what I need.
Note: Testing first helps me avoid accidents and keeps my belongings safe.
Painted Surfaces
Use Discs or Pads
When I want to install a hook on a painted surface, I always use a protective disc or pad. Painted walls and appliances can scratch or chip easily. I choose soft silicone or felt pads because they cushion the magnet and protect the paint. Sometimes, I use a thin plastic disc if I need extra strength. I make sure the pad covers the entire base of the hook. This step helps the magnet grip evenly and keeps the paint looking fresh.
Tip: I test the pad on a hidden spot first. This way, I know it will not leave marks or damage the paint.
Wait to Set
After I place the pad or disc, I press it gently against the painted surface. I wait a few minutes before adding any weight. This short wait lets the pad settle and stick better. If I rush, the pad might slip or wrinkle. I check that the pad feels secure and flat. Sometimes, I tap the area lightly to make sure it does not move.
I avoid hanging anything heavy right away.
I use this time to double-check the spot and make sure the hook will sit straight.
Add Hook
Once the pad feels set, I attach the hook on top of it. I press the hook firmly so the magnet connects through the pad. I make sure the hook sits flat and does not wobble. I start by hanging something light, like a small towel or keychain. If the hook holds, I slowly add more weight. I always check the manufacturer’s weight limit for painted surfaces. This helps me avoid damage and keeps my items safe.
Note: Painted surfaces need extra care. I check the hook often to make sure it stays secure.
Glass & Tile
Non-Slip Pads
When I want to use hooks on glass or tile, I always start by choosing the right non-slip pad. Glass and tile surfaces feel smooth and hard, but they do not give magnets much grip. I have learned that a regular magnet can slide down these surfaces, especially if I hang something heavy. To solve this problem, I use a non-slip pad made from silicone or rubber. These pads create friction between the magnet and the surface. I cut the pad to match the size of the hook’s base. This way, the pad covers the whole area and keeps the hook steady.
I clean the glass or tile with a soft cloth and a gentle cleaner. I make sure the surface feels dry before I place the pad. Even a little moisture can cause the pad to slip. I press the pad firmly onto the surface. Sometimes, I tap it lightly to make sure it sticks well. I check that the pad does not move when I touch it.
Tip: I always test the pad with a light item first. If the pad holds, I know it will work for heavier things.
Position Hook
After I set the non-slip pad, I place the hook on top of it. I press the hook down so the magnet connects through the pad. I make sure the hook sits flat and does not tilt. I avoid placing the hook near the edge of the glass or tile. Edges can be weak and may crack if I add too much weight.
I test the hook by hanging a small item, like a washcloth or a key. If the hook stays in place, I slowly add more weight. I never rush this step. I watch the hook for any signs of slipping. If I see movement, I remove some weight or try a thicker pad.
I always check the hook’s hold before leaving it unattended.
I inspect the pad and the surface regularly for dust or moisture.
Using these steps, I feel confident when I use hooks on glass or tile. I protect my surfaces and keep my items safe.
Uneven or Round Surfaces
Reduced Hold
I often try to use hooks on surfaces that are not flat. Sometimes, I want to hang something on a curved refrigerator door or a round metal pole. I notice that the magnet does not grip as well on these shapes. The contact area between the magnet and the surface becomes smaller. This means the holding power drops a lot.
I learned that even a strong magnet can lose most of its strength if it does not sit flat. For example, when I place a hook on a round pipe, only a small part of the magnet touches the metal. The rest of the magnet hangs in the air. This weakens the hold and makes the hook easy to knock off.
Tip: I always test the hook with a light item first. If it slides or falls, I know the surface is too uneven for safe use.
Here is a quick table that shows how surface shape affects holding power:
Surface Type | Holding Power | Risk Level |
|---|---|---|
Flat Metal | Strong | Low |
Slightly Curved | Medium | Medium |
Round or Uneven | Weak | High |
Safety Check
Before I trust a hook on an uneven or round surface, I always do a safety check. I gently tug on the hook to see if it moves. If it feels loose, I do not hang anything valuable. I also avoid placing hooks where people might bump into them.
I check the hook every few days to make sure it has not slipped.
I never use these hooks for heavy or breakable items on curved surfaces.
Note: Safety comes first. If I feel unsure, I find a flat spot or use a different hanging method.
Weight & Safety
Follow Limits
When I use magnetic hooks, I always check the weight limit on the package. Manufacturers make it clear that every hook has a maximum load. For example, some neodymium magnetic hooks can hold up to 110 pounds if I use them on a clean, smooth metal surface. I never guess the weight. I look at the rated capacity and make sure I do not go over it. If I overload a hook, it can fail and cause damage or even injury. I also test the hook with a lighter item before I hang anything heavy. This step helps me feel confident that the hook will hold.
Tip: I always follow the safety instructions from the manufacturer. They know the limits of their products best.
Avoid Jerks
I learned that sudden movements can cause a hook to slip or fall. I avoid yanking or jerking items off the hook. Instead, I lift things gently. This habit keeps the hook in place and protects my belongings. Even a strong magnet can lose its grip if I pull too hard or too fast. I remind my family to do the same, especially when we hang heavy tools or bags.
I teach kids to remove items slowly.
I use hooks only for items that do not need quick removal.
Inspect Regularly
I make it a habit to check my magnetic hooks every week. I look for signs of slipping or damage. If I see the hook has moved or the surface looks scratched, I clean the area and reset the hook. Manufacturers recommend regular inspections to keep everything safe. I also check the weight of the items I hang. Sometimes, I forget how heavy something is, so I weigh it again to be sure. Regular checks help me catch problems early and prevent accidents.
Note: Staying alert and careful helps me use magnetic hooks safely for a long time.
Inspection Checklist | How Often |
|---|---|
Check the hook position | Weekly |
Clean the surface and the magnet | Weekly |
Test holding strength | Weekly |
Weigh hanging items | As needed |
Remove Magnetic Hooks
Lift Carefully
When I remove a magnetic hook, I always take my time. I grip the base of the hook, not just the hanging part. I lift the hook straight up and away from the surface. Pulling too quickly or at an angle can cause the magnet to snap off or even break. I remember reading about a case where a strong neodymium magnet broke apart during removal, which led to an injury. That story taught me to respect the power of magnets and to handle them with care. Slow, steady movements help me avoid damage to both the hook and the surface.
Tip: I never use metal tools to pry off a magnet. Tools can slip and scratch the surface or cause the magnet to shatter.
Clean Residue
After I lift the hook, I check the spot for any marks or residue. Sometimes, a pad or disc leaves behind a sticky patch. I use a soft cloth and a gentle cleaner to wipe the area. If I see any stubborn spots, I let the cleaner sit for a minute before wiping again. I avoid harsh chemicals because they can damage paint or finishes. Clean surfaces look better and stay in good shape for the next time I want to use a hook.
I always check for scratches or dents.
I clean both the surface and the base of the hook before storing it.
Restore Surface
Once the area is clean, I look for any signs of damage. If I see a scratch or chip, I fix it right away. For small scratches, I use a touch-up marker or a bit of matching paint. If the surface feels rough, I smooth it gently with a soft cloth. I learned from medical studies that careful, targeted removal of magnets helps prevent lasting harm. Just like doctors use magnets to remove metal objects without causing extra injury, I use gentle methods to keep my surfaces safe. Taking these steps helps me keep my home looking neat and protects my belongings.
Note: Regular care and gentle handling make it easy to reuse hooks and keep surfaces in top condition.
Troubleshooting
Slipping
Sometimes, I notice that my hooks start to slip down the surface. This usually happens when the surface is not clean or flat. I always check for dust, grease, or moisture. If I find any, I clean the area with a soft cloth and let it dry. I also make sure the hook sits flat against the surface. If the hook still slips, I try a non-slip pad or move the hook to a thicker metal spot. I avoid hanging heavy items until I feel sure the hook will stay in place.
Tip: I test the hook with a light object first. If it holds, I add more weight slowly.
Marks
After removing a hook, I sometimes see marks or scratches. I do not panic. I gently wipe the area with a damp cloth. For sticky residue, I use a little dish soap. If I see a scratch, I use a touch-up marker or a bit of matching paint. I always use pads or discs on painted or delicate surfaces to prevent marks in the future.
Here is a quick checklist I follow to avoid marks:
Use soft pads or discs
Clean surfaces before attaching hooks
Remove hooks slowly and carefully
Reuse
I like to reuse my hooks whenever possible. Before I do, I inspect both the hook and the surface. I clean off any dust or residue. If the magnet looks worn or the pad is damaged, I replace it. I store my hooks in a dry place to prevent rust. When I reuse a hook, I always test its strength before hanging anything valuable.
Note: Careful cleaning and storage help my hooks last longer and work better each time.
When I install magnetic hooks, I always follow a few key steps to keep things safe:
I clean the surface well so the magnet can grip tightly.
I use self-adhesive metal discs on smooth surfaces like glass and press them for a few seconds.
I wait 72 hours before hanging anything to let the adhesive set.
I choose strong neodymium magnets for the best hold.
I remove discs carefully to avoid damage.
Using the right materials and checking weight limits helps me protect my surfaces and belongings every time.
FAQ
How do I know if my surface is safe for magnetic hooks?
I always test the surface with a small magnet first. If it sticks firmly, I know it is ferrous metal. I avoid using hooks on aluminum, plastic, or wood because magnets will not hold there.
Can I use magnetic hooks outdoors?
I use magnetic hooks outdoors only if they are labeled weather-resistant. I check for rust-proof coatings. I avoid leaving them in wet or salty environments for long periods because moisture can weaken the magnet and cause rust.
What should I do if my hook keeps slipping?
I clean both the magnet and the surface with a soft cloth. I check for dust, grease, or moisture. If the hook still slips, I try a non-slip pad or move the hook to a thicker, flatter metal spot.
Are magnetic hooks safe for painted walls?
I use a soft pad or disc between the hook and the wall. This protects the paint from scratches and chips. I always test the pad on a hidden spot first to make sure it does not leave marks.
How can I increase the holding power of my magnetic hook?
I chose a thicker, flat metal surface. I clean the area well. I use strong neodymium magnets for heavy items. I avoid placing hooks near edges or on curved surfaces because these spots reduce holding strength.
